

Understanding Your Coverage Before Disaster Strikes
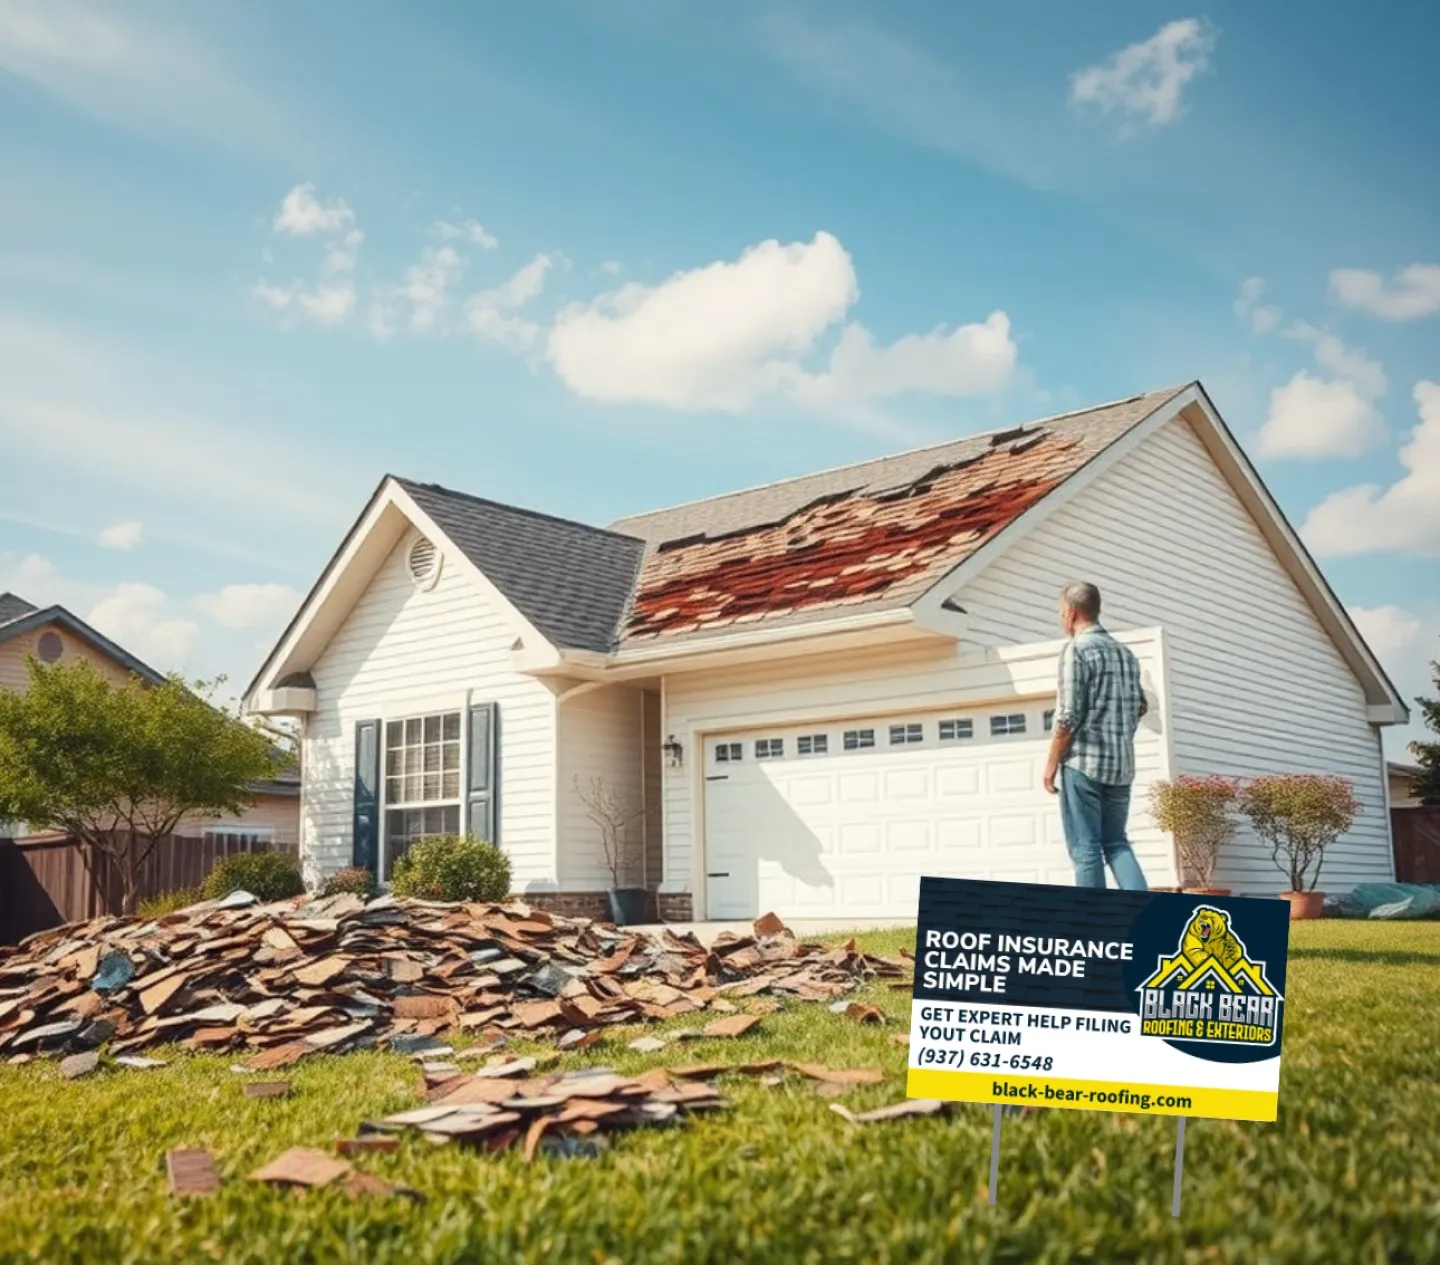
The absolute worst time to figure out what your homeowners insurance policy actually covers is when you’re standing on your lawn, staring at shingles scattered everywhere after a storm. Yet, that’s the reality for too many people. To really be ready for a roof damage insurance claim, you need to dig into your coverage long before you ever need it. Being proactive now will save you from major headaches and financial surprises later.
Think of your policy as the rule book for a game you hope you never have to play. Knowing the rules inside and out gives you a huge advantage when something does go wrong. The first thing to do is grab your policy documents and get familiar with a few key terms that will make or break your claim.
Decoding Your Policy’s Language
It all starts with understanding the difference between two very important phrases: Replacement Cost Value (RCV) and Actual Cash Value (ACV). The type of coverage you have will drastically change how much money you get from the insurance company.
- Replacement Cost Value (RCV): This is the coverage you want to have. RCV pays the full amount to replace your damaged roof with new, similar materials at today’s prices. It doesn’t subtract anything for the age or wear and tear of your old roof.
- Actual Cash Value (ACV): This coverage pays for the replacement cost minus depreciation. So, if your roof is 15 years old, an ACV policy will only give you what a 15-year-old roof is worth today. You’ll be on the hook for the rest of the cost of a brand-new roof.
The difference here is huge. A homeowner with an ACV policy on an older roof might only get 40-50% of the replacement cost, turning what should be a covered claim into a massive out-of-pocket expense. Your policy’s declarations page should clearly state which one you have. If it’s ACV, it’s a good idea to call your agent and ask about upgrading, especially if your roof is getting up there in age.
Beyond RCV and ACV: Key Coverage Details
Your policy has other details that can have a big impact on your claim. For instance, wind and hail damage are extremely common. In fact, nearly 50% of all homeowners insurance claims in the U.S. are from wind and hail, making it the top reason people file claims.
Given how frequent these events are, you need to check if your policy has a separate, higher deductible just for wind or hurricane damage. This is a common practice in storm-prone areas and could mean your initial out-of-pocket cost is much higher than your standard deductible.
To help you sort through what your policy might cover, here’s a quick comparison of common coverage types.
| Coverage Type | What’s Covered | Common Exclusions | Typical Deductible |
|---|---|---|---|
| All Perils (Open Peril) | Damage from any event unless specifically excluded (e.g., wind, fire, hail, falling objects). | Earthquakes, floods, neglect, wear and tear, war. | Standard deductible ($500 – $2,500) applies unless a special deductible is listed. |
| Named Perils | Only covers damage from events specifically listed in the policy (e.g., fire, lightning, windstorm). | Anything not listed, including common issues like water damage from ice dams if not specified. | Standard deductible. Often a less expensive policy, but with more coverage gaps. |
| Wind/Hail Coverage | Damage specifically caused by wind and hail. | Damage from other sources like fire or falling trees. | Can have a separate, higher percentage-based deductible (1-5% of home’s value). |
| Matching Siding/Roofing | If included, ensures the insurer pays to replace non-damaged sections to create a uniform look. | Often excluded or offered as an add-on. Without it, you get a patchwork repair. | Covered under the primary claim’s deductible. |
This table shows why just having “coverage” isn’t enough; the details are what really matter.
Finally, look for any clauses about “matching.” Will your insurer pay to replace just the few damaged shingles, or will they cover the cost to replace an entire section so the new materials blend in with the old? A mismatched, patchwork roof doesn’t just look bad; it can lower your home’s resale value. Knowing these specifics before you need to file is essential for a smooth and successful roof damage insurance claim.
Building Your Evidence Like an Insurance Pro
After a big storm rolls through, your first thought is probably to get your insurance company on the phone. But before you make that call, it’s time to put on your detective hat. The photos, videos, and notes you gather right after the damage happens are the bedrock of a successful roof damage insurance claim.
Think of it this way: you’re building a case. The more detailed and organized your proof, the smoother the entire claims process will be. An adjuster’s job is to confirm the cause and extent of the damage. By presenting a clear, undeniable picture of what happened, you make their job—and your life—much easier. This simple preparation is what often separates a quick, fair payout from a frustrating, drawn-out fight.
Photographing Your Damage with Purpose
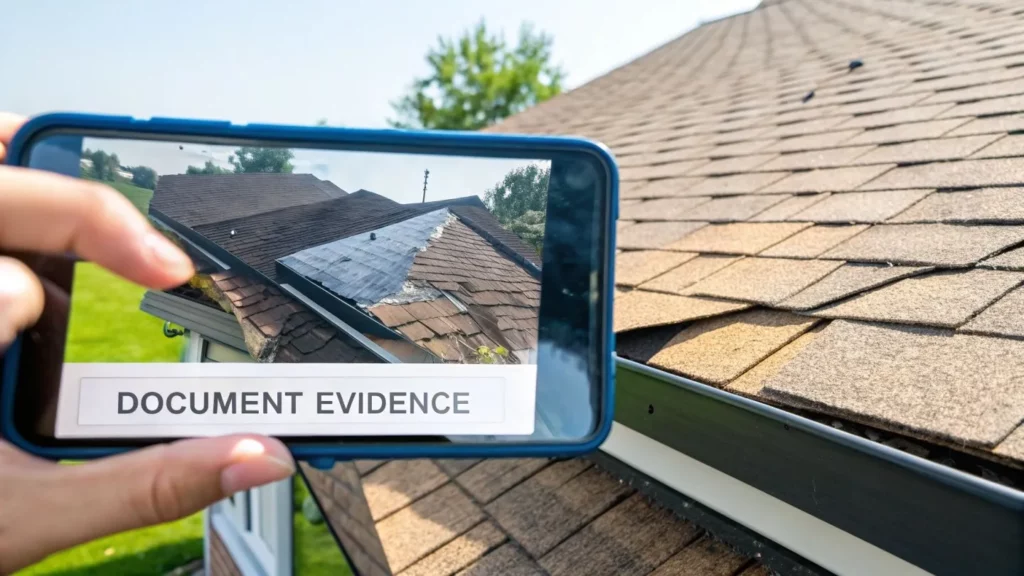
Your smartphone is your best friend in this situation. However, just snapping a few random photos of missing shingles from your yard isn’t going to be enough. Your documentation needs to tell a compelling story that leaves no room for interpretation. I’ve spoken with former adjusters who confirm that a well-documented claim gets processed faster because it answers their questions before they even have to ask.
First, take wide-angle shots of your entire property. You want to capture all four sides of your home to establish the scene and show the big picture. Then, it’s time to move in for the details. Get specific, close-up shots of everything you can find:
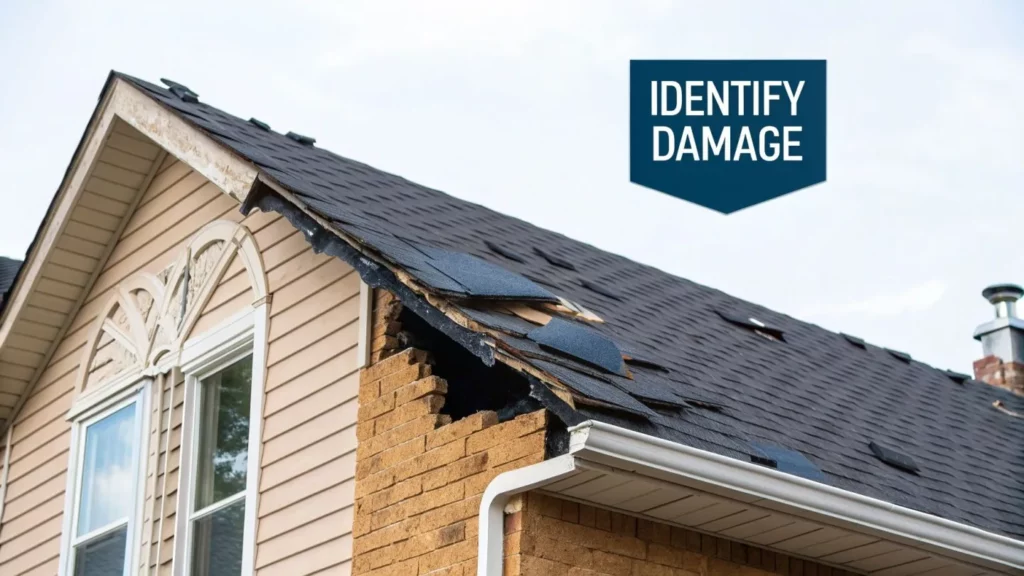
- Individual Shingles: Look for any lifting, creasing, cracking, or missing shingles. A great tip is to place a coin or a small ruler next to the damage to provide a sense of scale in your photos.
- Gutters and Downspouts: Take pictures of any dents or dings. Most importantly, check if your gutters are full of shingle granules. This is a classic sign of significant hail or wind impact that adjusters look for.
- Siding and Windows: Don’t forget to document collateral damage. Dented siding, torn window screens, or damaged outdoor lights help build a stronger case for the storm’s intensity.
Essential Documentation Checklist
Collecting proof is only half the battle; organizing it is just as crucial. A messy folder of random photos and receipts can frustrate an adjuster and lead to unnecessary delays. A much better approach is to create a dedicated digital folder for your claim and keep everything organized.
To help you stay on track, here’s a checklist of the essential documents you’ll need to gather for a successful roof damage claim.
| Document Type | When to Collect | Key Details to Include | Priority Level |
|---|---|---|---|
| Photos/Videos | Immediately after the storm | Date/time stamped; include wide, medium, and close-up shots; capture collateral damage. | High |
| Interior Damage | As soon as you notice it | Photos of ceiling stains, active water drips, and any damaged personal items below the leak. | High |
| Repair Receipts | After making emergency fixes | Invoices for tarps or temporary patches you paid for to stop further damage. | Medium |
| Maintenance Records | Before and after the claim | Past inspection reports or repair invoices to show your roof was in good condition pre-storm. | Medium |
Having this level of detailed documentation shows your insurance company that you’re a responsible homeowner. It makes your claim much harder to dispute and demonstrates the true extent of your loss. If you want more insights on how to prepare your home for the weather we get here, feel free to check out our other Ohio roofing tips and maintenance guides.
Filing Your Claim for Maximum Impact
With your evidence organized and ready, it’s time to take the first official step: calling your insurance company. This first conversation is much more than a simple check-in; it really sets the tone for your entire roof damage insurance claim experience. The way you present your case from the very beginning can make a big difference in how smoothly and successfully your claim is settled.
The key is to be clear, confident, and stick to the facts without accidentally saying something that could hurt your case. For instance, avoid guessing about the cause of the damage. Instead of saying, “I think the roof might have been old anyway,” state what you know for sure. A good example would be, “A major hailstorm came through our neighborhood on Tuesday night, and I’ve found significant damage to my roof and gutters.” This direct, evidence-first approach positions you as a credible partner in the process.
Making the First Call and Navigating Timelines
When you make that initial call, have your policy number in your hand. Be ready to give a short, factual account of what happened and the damage you’ve observed. Once you report the claim, you’ll be given a claim number and assigned an adjuster. This claim number is your new best friend—write it down and keep it somewhere safe, as you’ll need it for every future conversation.
It’s also helpful to understand the typical timeline to keep your stress levels in check. While every situation is different, here’s a general idea of what to expect:
- Reporting the Damage: You should call your insurance company as soon as it’s safe. Most policies include a “prompt notice” clause, and waiting too long could give them a reason to deny your claim.
- Adjuster Assignment: An adjuster is usually assigned within 24-48 hours. Keep in mind that after a major, widespread storm, this could take longer due to the high number of claims.
- The Inspection: Your adjuster will call to schedule an on-site inspection of the damage, which typically happens within a week or two.
- The Settlement Offer: After the inspection, you should receive a detailed report and an initial settlement offer. This can take anywhere from a few days to a couple of weeks.
A huge red flag is when you hear nothing but silence from the insurance company. If a week goes by and you haven’t heard from an adjuster, it’s time to be proactive. A polite follow-up call can be all it takes to get things moving again. Remember, you are the most important advocate for your own roof damage insurance claim. Keeping a simple log of every phone call—noting the date, time, and the name of the person you spoke with—is a powerful strategy to protect your interests and make sure nothing gets missed.
Mastering the Insurance Adjuster Relationship
Once you file your claim, you’ll meet the most influential person in your roof damage insurance claim process: the insurance adjuster. It’s tempting to see them as an opponent, but that’s rarely a productive mindset. Instead, it’s better to view them as a professional whose job is to verify damage and estimate costs based on their company’s rules. Your role is to build a respectful, professional relationship while confidently advocating for what you’re owed.
This dynamic is more important now than ever. The total cost for roof repairs and replacements in the U.S. recently soared to nearly $31 billion, a massive 30% increase in just a few years. Because of this, insurance companies are logically tightening their claim procedures, demanding more detailed proof and looking closely at every line item. You can learn more about these industry changes and their impact on homeowners by reading the latest roofing industry loss reports. This financial pressure makes your interactions with the adjuster incredibly significant.
Preparing for the Adjuster’s Inspection
When the adjuster sets up a time to visit, your preparation can completely change the outcome. Being there for the inspection isn’t optional—it’s essential. This is your chance to personally show them the damage you’ve documented, highlighting issues they might miss during a quick walk-around. Have your folder of photos, receipts, and notes ready to go.
Here’s how to manage the inspection like a pro:
- Be a Guide, Not a Salesperson: Walk the property with them. Show them the hail-dented gutters, the ripped window screens, and the pile of shingle granules you swept up from beside your downspout. Let your evidence do the talking.
- Share Your Contractor’s Estimate: If you’ve already had a trusted roofer provide a detailed estimate, give a copy to the adjuster. This immediately establishes a professional benchmark for the scope of work and repair costs.
- Stay Professional and Calm: It’s crucial to keep a level head, even if you disagree with their initial assessment. Becoming emotional or argumentative will only make them defensive and less willing to work with you.
Handling Disagreements and Documenting Everything
Don’t be surprised if the adjuster’s initial estimate is lower than your contractor’s. This is where you need to stand your ground, but do it professionally. Instead of getting frustrated, ask pointed, clarifying questions. For example, if their report only covers a small patch repair, you could ask, “I see your estimate is for a partial repair. My roofer pointed out that because of the shingles’ age, a patch won’t match and could damage the surrounding roof. Can you show me where my policy addresses mismatched materials?”
After every phone call, email, or meeting, send a short follow-up email summarizing the conversation. For instance: “Hi [Adjuster’s Name], just wanted to confirm what we discussed today. You mentioned you would review our city’s code upgrade requirements and get back to me by Friday. Thank you!” This simple action creates a written record that keeps everyone accountable and becomes powerful proof for your roof damage insurance claim if you need to escalate the issue. This documentation is your best protection.
Negotiating Your Settlement Like a Pro
The initial settlement offer from your insurance company often feels like the finish line, but it’s really just the opening bid in a negotiation. It’s a common scenario for the first offer on a roof damage insurance claim to come in lower than what’s actually needed for a quality, lasting repair. This is where your detailed preparation and persistence truly pay off, helping you turn a potentially lowball offer into a fair settlement that fully restores your home.
Think of it as a crucial business transaction where you are protecting your most valuable asset. Roof-related issues are a massive focus for insurers; in fact, they recently accounted for over 25% of all residential property insurance claim value, with wind and hail being the primary culprits. You can explore more about these evolving insurance risks and see why insurers scrutinize these claims so heavily. With so much money on the line, it’s not surprising that initial offers sometimes miss the mark.
Countering a Low Offer with Evidence
So, you’ve got your contractor’s detailed estimate, and it’s significantly higher than what the adjuster offered. Don’t panic. This is your moment to present a logical, evidence-based counteroffer. A low offer isn’t a final “no”—it’s an invitation to provide more information and justify the actual cost of the work.
Your counteroffer should be a formal, written response that clearly lays out the differences between the two estimates. For example:
- Material Quality: Did the adjuster quote for basic 3-tab shingles when your home previously had higher-end architectural shingles? Your policy likely entitles you to materials of “like kind and quality.” Point this out specifically.
- Labor Costs: Is the insurer’s labor rate based on a national average that simply doesn’t reflect the market rate for skilled roofers here in Ohio? Your local contractor’s estimate is powerful proof of what the job actually costs to get done right in your area.
- Code Upgrades: The adjuster might have missed local building code requirements. For instance, many Ohio municipalities now mandate specific underlayment like an ice and water shield or particular nailing patterns for high-wind zones. These are non-negotiable, legally required costs for the repair to be compliant.
Arguing for the Hidden Costs
Beyond the obvious shingles and labor, a fair settlement for your roof damage insurance claim has to cover all the associated costs. These are legitimate expenses that are often left out of initial offers, but you’re absolutely entitled to have them covered.
Make sure your negotiation includes line items for every part of the process:
- Temporary Repairs: Did you have to pay for emergency tarping to prevent a leak from turning into major water damage? That’s a covered expense.
- Debris Removal: Hauling away tons of old roofing materials and disposing of them properly isn’t free. This cost should be in the settlement.
- Landscaping Protection/Repair: A professional roofing crew will need to protect your bushes, flowerbeds, and deck from falling debris. The cost for this prep work, or any necessary repairs afterward, should be included.
By methodically breaking down every single cost and backing it up with contractor estimates, photos, and your own documentation, you shift the conversation. It’s no longer a simple disagreement over a number; it becomes a fact-based discussion about what it truly takes to make your home whole again. You can also review our Ohio seasonal roof checklists to better understand the kind of maintenance that helps strengthen your home against future damage.
Remember, a successful negotiation is all about proving your case with undeniable evidence. This ensures you get the full and fair settlement you deserve.
Choosing Contractors Who Understand Insurance Work
After a big storm blows through, your doorbell will likely be ringing off the hook with roofers offering their services. But here’s a critical piece of advice: not all contractors are the same, especially when a roof damage insurance claim is on the table. Choosing a roofer who doesn’t get the insurance game can leave you paying thousands out of pocket, while the right one becomes your biggest advocate. The difference is experience, and it’s massive.
A seasoned insurance restoration contractor does more than just nail shingles; they speak the same language as your insurance adjuster. They know how to build estimates using industry-standard software like Xactimate, which means their quotes are formatted in a way insurers recognize and respect. This simple step avoids the frustrating back-and-forth that happens when an adjuster sees a contractor’s bid as unprofessional or inflated.
Think of it this way: a general roofer might hand you a simple, one-page quote. A restoration specialist will provide a detailed, itemized report that justifies every cost—from the specific type of underlayment to local code upgrades that are legally required.
Vetting Contractors: Key Questions to Ask
Finding a true specialist requires a little bit of homework. Before you even think about signing a contract, you need to vet any potential roofer. A great first stop is checking their reputation and history with organizations that track consumer feedback.
For instance, the Better Business Bureau website is an excellent resource for looking into a contractor’s rating and complaint history.
Using a tool like the BBB lets you quickly identify companies that have a history of unhappy customers or unresolved problems, potentially saving you a major headache down the road.
Beyond online digging, it’s time to pick up the phone. You need to ask direct questions that will separate the seasoned pros from the storm chasers:
- Can you provide me with proof of your Ohio license and your general liability insurance?
- Do you have experience working with my specific insurance company?
- Will you be on-site to meet with my insurance adjuster when they come for the inspection?
- Do you offer a warranty on your workmanship on top of the manufacturer’s material warranty?
A confident and immediate “yes” to these questions is a great sign that you’re dealing with a capable partner. At Black Bear Roofing, we’ve guided hundreds of homeowners through this exact process. You can learn more about our commitment to quality and see the full scope of our expert services to understand how we can support you. A trustworthy contractor will always be transparent, patient, and ready to back up their claims, giving you the peace of mind you need to move forward.
Your Victory Blueprint for Claim Success
Now it’s time to turn what you’ve learned into a real-world action plan. Think of this as your roadmap for the entire roof damage insurance claim process, taking you from the chaotic aftermath of a storm all the way to securing your final settlement. Success comes down to being organized, proactive, and knowing when to stand your ground. This blueprint is designed to help you handle the process with confidence and get a fair outcome.
Your Post-Storm Action Plan
The moments after a storm can feel overwhelming, but having a simple checklist ready can be your best defense. Keep this plan handy:
- Immediate Safety & Mitigation: Your first priority is making sure everyone is safe. Once that’s confirmed, take immediate steps to prevent more damage, like throwing a tarp over a major leak. Keep every single receipt for these emergency repairs; they are almost always reimbursable under your policy.
- Evidence Gathering: Before anything is moved or touched, document everything. Take wide-angle photos and videos of your property, then get close-ups of every bit of damage—dented shingles, torn gutters, damaged siding, everything.
- Professional Assessment: Find a trusted, local roofing contractor who has experience with insurance claims. Have them perform a detailed inspection and write up an estimate. This independent assessment from an expert is one of your most powerful tools during negotiations.
The Claim Process Workflow
To give you a clear picture of how these pieces fit together, this graphic outlines the key stages of an expedited roof repair claim.
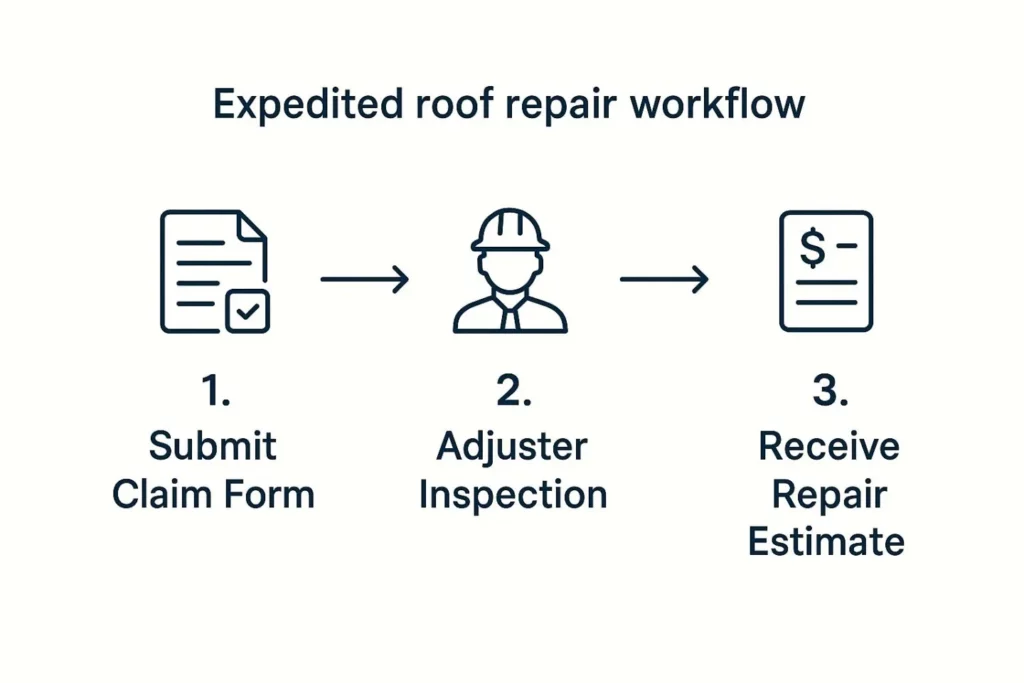
This workflow shows how a well-documented claim, supported by a professional estimate, can make the adjuster’s job easier. When you present strong evidence from the start, you’re not just reacting—you’re setting the tone for a faster, more accurate, and successful resolution.
Feeling like it’s too much to handle on your own? You don’t have to. The experienced team at Black Bear Roofing and Exteriors has guided hundreds of Ohio homeowners through this exact process. Contact us today for a free inspection and to get an expert on your side.
leave a comment